A guide to help you get Online Booking embedded into your website.
Online Booking with Shortcuts has never been more flexible! You’ll love the options of a standalone branded booking page, or if you’d prefer to incorporate it into your existing website, you can do so as either a popup or a side panel.
You can find everything you’ll need in your Shortcuts Console. Oh and don’t be confused by the term “widget” – your web developer will know exactly what you mean.

Standalone page
You’ll get this standalone page automatically, even if you add online booking directly to your website. This will be where your clients are sent to from the ‘Book Now’ buttons in Instagram, Facebook and your marketing emails, if you have them set up.
Find your unique online booking link in Console > Company Settings > Online Booking Settings > Online Booking URL. It will be in the format: https://home.shortcutssoftware.com/[youruniquename]
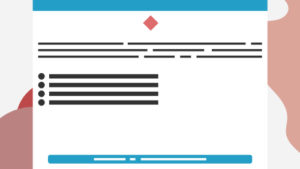
Pop up panel on your website

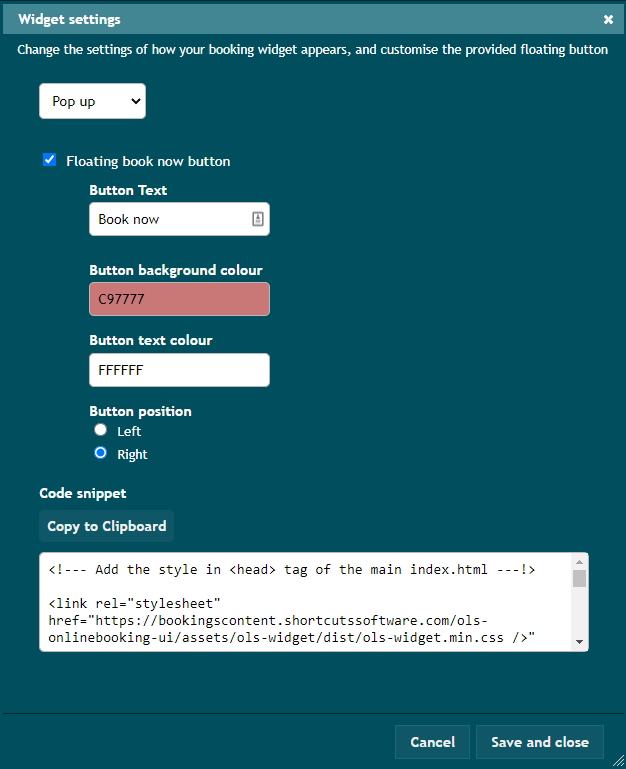
1. Console > Company Settings > Online Booking Settings > Widget Setup. Click the Widget Settings button.
2. Choose Pop up from the drop down menu.
3. (Optional) Turn on the “Floating book now button” if you want a little tab that “floats” along the left or right hand side of your website as the page scrolls. Your clients will see that and click or tap it to open up the online booking pop up in the middle of their screen. With or without it, your developer will know how to use the code you provide them to pop it open from a menu or button elsewhere on your website.
If you want the button, you’ll be able to customise the text it displays, as well as the background and text colours. Choose a background colour that really stands out from other colours on the website, so that your clients can find it easily.
Choose whether it appears on the left or right. You should consider where your regular website menu is, and how it could appear on a mobile.
4. Click Copy to Clipboard as an easy way to pull out all that code you just built, and be sure to provide it all to your website developer. Depending on what your website is built upon (WordPress, Wix, Squarespace, etc), they should know exactly where to put the header code and the body code that is included.
5. Click Save and close. Note that saving changes will not automatically change how it appears on your website. You may need to provide updated code to your web developer each time you change it.
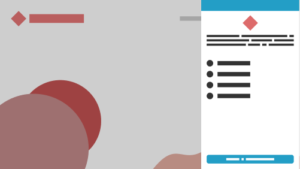
Side panel on your website
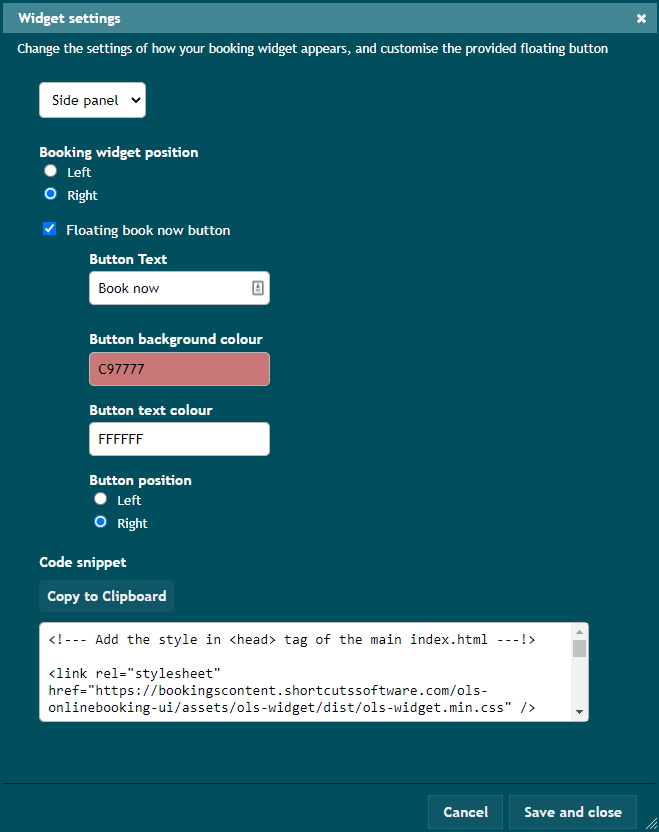
1. Console > Company Settings > Online Booking Settings > Widget Setup. Click the Widget Settings button.
2. Choose Side panel from the drop down menu.
3. For the Booking widget position, choose whether you want the panel to appear on the left or right hand side of your website, if your client is viewing it on a laptop or tablet.
4. (Optional) Turn on the Floating book now button if you want a little tab that “floats” along the left or right hand side of your website as the page scrolls. Your clients will see that and click or tap it to open up the online booking panel on their screen. With or without it, your developer will know how to use the code you provide them to pop it open from a menu or button elsewhere on your website.
If you want the button, you’ll be able to customise the text it displays, as well as the background and text colours. Choose a background colour that really stands out from other colours on the website, so that your clients can find it easily.
Choose whether it appears on the left or right. You should consider where your regular website menu is, and how it could appear on a mobile.
5. Click Copy to Clipboard as an easy way to pull out all that code you just built, and be sure to provide it all to your website developer. Depending on what your website is built upon (WordPress, Wix, Squarespace, etc), they should know exactly where to put the header code and the body code that is included.
6. Click Save and close. Note that saving changes will not automatically change how it appears on your website. You may need to provide updated code to your web developer each time you change it.
Some advanced notes for your website developer
The code you generated in the Console should be enough for your website developer to go on. Sometimes they get a little curious and want to know more, so send them here as a start.
The code will be exported as one full block of code, however there are two sections to the code:
Head: this section of the code will need to be placed in the <head> of the website.
Body: this section of the code typically belongs at the end of the <body> section of the website. Depending on the settings chosen, different tags may appear in here:
- data-widget=”_s” – Set to _s for a side panel, or _m for the popup option.
- data-side-widget-position=”right” – Use left or right, depending on which side of the website the side panel should appear on, if applicable.
- data-floating-button=”True” – True or False, depending on whether you want to display a floating button along the left or right side of the website that opens the online booking panel.
- data-floating-button-position=”right” – Whether the floating button should appear on the left or right side of the website.
- data-floating-button-text=”Book now” – Label text for the floating button.
- data-floating-button-color=”#C97777″ – Background colour for the floating button.
- data-floating-button-text-color=”#FFFFFF” – Text colour for the floating button.
To open from a button or menu…
Use /#scs-ols-widget in the link
To open directly to the contact details page…
<a href=”#scs-ols-widget=sites/[siteid]/details“>Book at Cleveland</a>
The [siteid] can be found in the URL when viewing Online Booking as a standalone page, such as
https://home.shortcutssoftware.com/[youruniquename]#/_h/sites/[siteid]/details
To open directly to the Please Note page…
Note, this will automatically skip to the Select Services page if no content has been configured for the Please Note Text setting for that location. Therefore this is our recommended usage if you want to add a quick link to book at a particular location.
<a href=”#scs-ols-widget=sites/[siteid]/pre-book-info“>Book at Cleveland</a>
To open directly to the Select Services page…
<a href=”#scs-ols-widget=sites/[siteid]/services“>Book at Cleveland</a>


